
Connect a source
By default, the Retro Scaler A1 is configured for arcade games. If you use it for something else, you need to make sure that RGB and SYNC is configured correctly. You can change this by editing the [input] section of the ‘scalera1.ini’ file that will be created if you have an sd card inserted when powering up the scaler:
[input]rgb=arcadesync=TTL
One important distinction to make is that the Retro Scaler only accepts negative sync – which is the norm for pretty much everything relevant, except retro x86 PC’s where it’s a bit of a mix.
RGB input level
This one is easy, set to arcade for arcade boards and 75-ohm for everything else.
| System | Setting | Note |
| Arcade PCB’s | arcade | 0 – 4Vpp video level, 1000 Ohm impedance |
| Everything else | 75-ohm | 0 – 1Vpp video level, 75 Ohm impedance |
Warning: feeding the scaler arcade level RGB signals while configured for 75-ohm will trigger constant brightness adjustments at best, and may at worst damage the scaler.
SYNC input level
This one is a little more tricky. For ‘plain’ sync, set it to TTL, this is your basic digital sync that goes between 0 and 5V. If you have no luck with TTL you can try the ‘scart’ setting – this will take most forms of sync that is not plain TTL. If your system is ‘RGB modded’, there is a fair chance it outputs sync that works with the TTL setting, even if it’s designed to work with scart, so try TTL first.
| System | Setting |
| Arcade PCB’s and most other systems | TTL |
| SCART sync* | scart |
The TTL setting has additional jitter-reducing circuitry, but does not work with odd sync signals.
Warning: feeding the scaler TTL level sync while configured for scart sync for a prolonged time may damage the scaler
A note for HAS users
If you’re using the excellent super-gun HAS, https://homearcadesystem.wordpress.com/, configure the A1 to use:
[input]rgb=75-ohmsync=TTL
The HAS always attenuate and re-amplify the RGB to 75-ohm, so you may experience a dark image if you use the A1’s default rgb=arcade setting.
On the HAS, verify that sync level is set to TTL with no processing if possible. The capabilities in this respect varies a bit between the different HAS versions. In order of preference, use either:
- Unprocessed, or
- Buffered
The “Regenerated” mode on the HAS will work in most cases, but can potentially cause issues with some games when used with the A1.
Making an input cable for the Retro Scaler A1
To make life a little easier, I highly recommend getting one of these off ebay, search for ‘vga male breakout shell’.
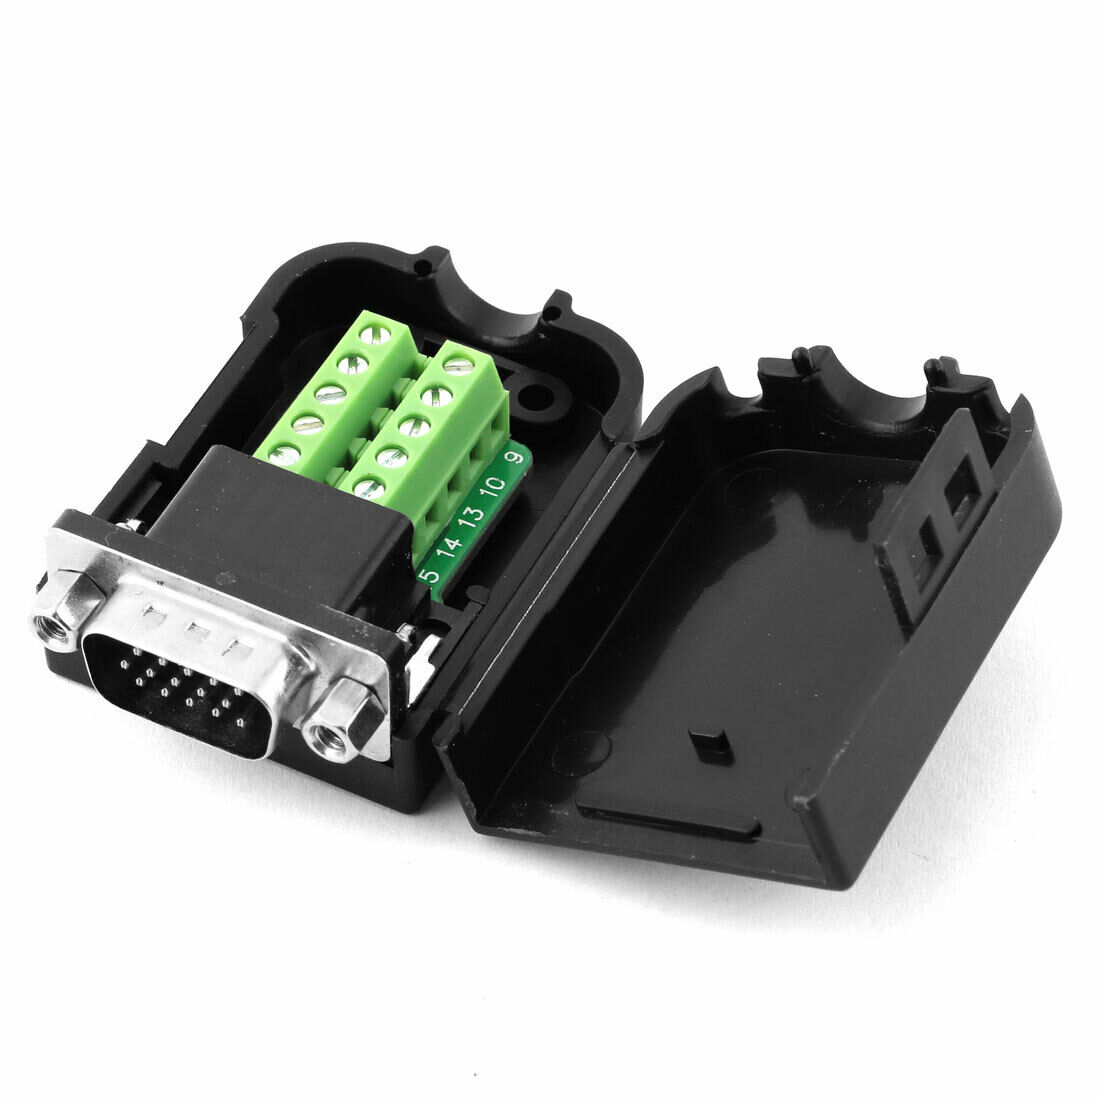
You don’t need to connect all the GND pins, but connect the ones you have in your cable.
The pinout of the caler is:
- Red
- Green
- Blue
- not connected
- GND
- GND
- GND
- GND
- not connected
- GND
- not connected
- not connected
- HSYNC and/or CSYNC
- VSYNC
- not connected
The shield of the input port of the scaler is by default not connected, as there is some debate if this is smart/safe or not. There is a solder jumper on the bottom side of the PCB you can close if you know what you’re doing and feel this is necessary.
Last Updated on 2022-09-11 by admin